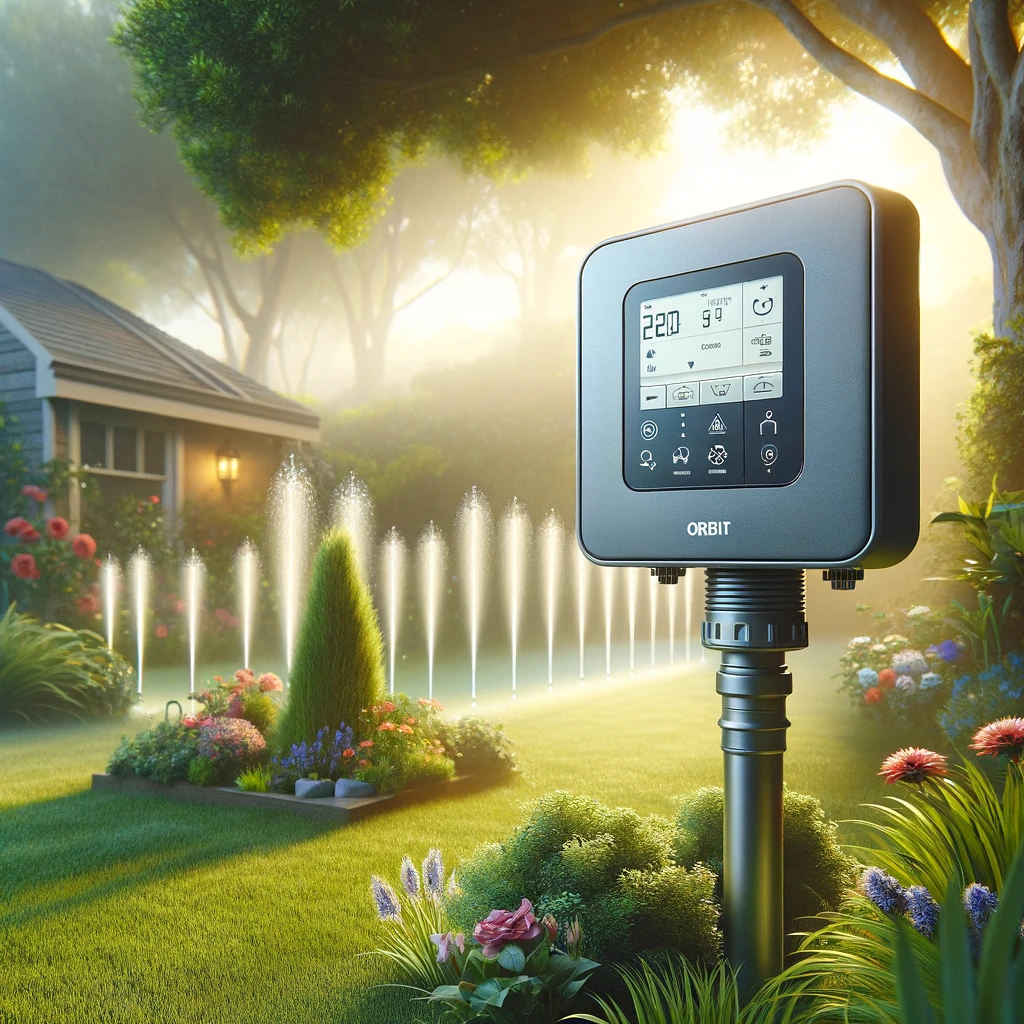
Setting up your orbit sprinkler timer might sound like a big task, but don’t worry! This guide is here to help you through each step. Remember, different models might have their own special steps, so it’s a good idea to peek at your model’s guide too. But, these steps will get you through most of it:
1. Powering Up
- For battery models: Open the battery compartment and put in the batteries as shown inside.
- For electric models: Find a wall outlet and plug your timer in.
2. Setting the Clock
- Find the main menu on your timer. Look for a button that says something like “Date/Time.”
- Use the arrow keys (they might look like this: ↑↓) or buttons marked “+” and “-” to set the correct date and time.
- Press “Enter” or “OK” to save it. There might be a specific button for this.
3. Choosing When to Water
- There’s a part in the menu for setting up your watering schedule. It might be called “Watering Days” or “Schedule.”
- Pick which days you want to water your garden. You can choose every day, just specific days, or every couple of days.
- Confirm your choice to lock it in.
4. Scheduling Start Times
- Find the section labeled “Start Times.” This is where you tell the timer when to start watering.
- You can set more than one start time if you want it to water multiple times a day.
- Use the arrow keys or “+” and “-” to choose the start times. Save these times once you’re done.
5. How Long to Water
- Go to the part of the menu called “Station Duration” or something similar. This is where you decide how long each part of your garden gets watered.
- Pick each area (zone) you’ve set up and give it a watering time in minutes.
- Save your choices.
6. Double-Check Your Settings
- Take a moment to go over all your settings to make sure everything is just right.
- If you need to change something, go back through the menu to find what you need to adjust.
7. Test Run
- Use a feature called “manual override” to do a test run. This makes sure everything works as expected and waters the right areas for the right amount of time.
8. Save and Finish
- Double-check that all your settings are saved.
- Exit the setup menu. Your timer should now follow your watering schedule automatically!
Tips:
- Setting up your timer is mostly about telling it when and how long to water your garden.
- If your timer has extra features like waiting to water when it’s raining, check your manual to learn how to use them. These can be really handy!
That’s it! You’ve set up your sprinkler timer. Now, your garden will be watered exactly how you want, without needing to remember to turn the hose on and off. Enjoy your healthy, happy garden!

